When I heard the theme for Art Quilts Around the World was communication, sign language immediately popped into my head. I taught preschool children with special needs and our main communication was sign language. When my own kids were little, as I turned off the light in their rooms each night we would sign 'I really love you" to each other. I considered trying to create my own hand signing I really love you but then I saw this button.

This pin was created through PINCAUSE It features the ASL sign for "I Love You". with every pin sold a donation is made to Deaf Women United, Planned Parenthood, the ACLU and I believe a portion also helped fund the women's march in D.C. Not sure about the statistics for just this pin, but this one and their Rise for Refugees pin have raised over $100,000 in 3 months for Planned Parenthood, ACLU, International Rescue Committee, and the Syrian Civil Defense known as The White Helmets.(Info obtained from pincause.com) Now they have a third pin! It is the Official Pin for the March for Science on April 22, 2017. All of these causes speak to my heart!
These pins communicate in more than one way, on more than one level. I knew I wanted to use this pin. I wrote to Kate + Nate and asked if it would be ok to recreate their pin for my little piece of fiber art. So, long as it wasn't being sold they very generously let me use their design. Thank you!

Here is my process. First I copied the pin with my printer and enlarged it. This made it easy to create a pattern. I cut the pieces out with freezer paper and ironed the freezer paper to the right side of my fabric. I roughly cut the fabric for each shape and than ironed Misty Fuse to the back of the fabric.

From there I could easily place my pieces together to create the I Love You sign.

I wanted it to look like an actual pin so I cut a circle using peltex for stiffness and a circle of batting for a little more dimension.
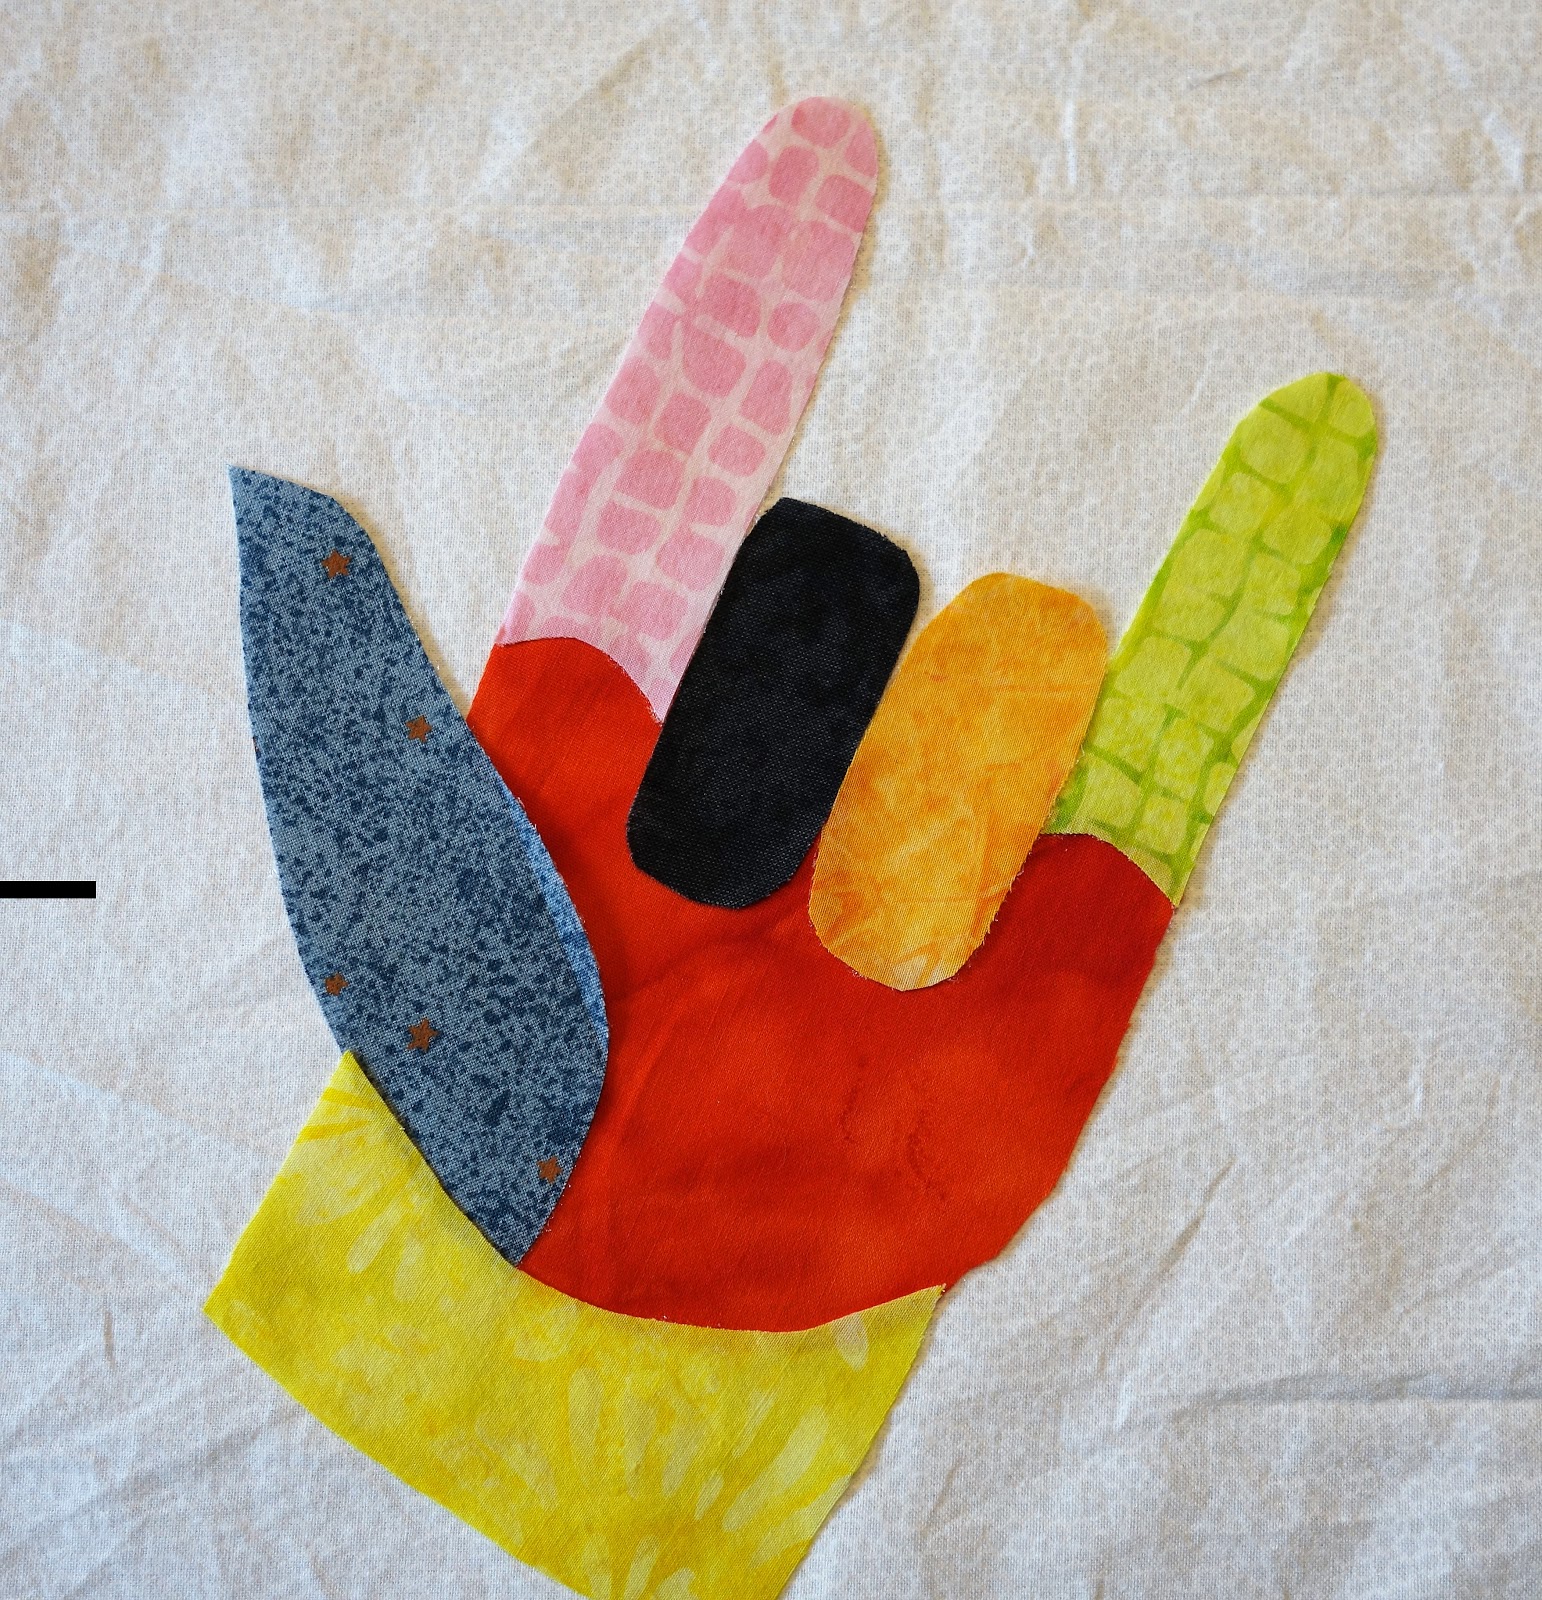
I took a little artistic license when it came to the actual quilting and I tried to add a little more dimension in the way I stitched the hand. Not sure if I succeeded but it was fun to try.

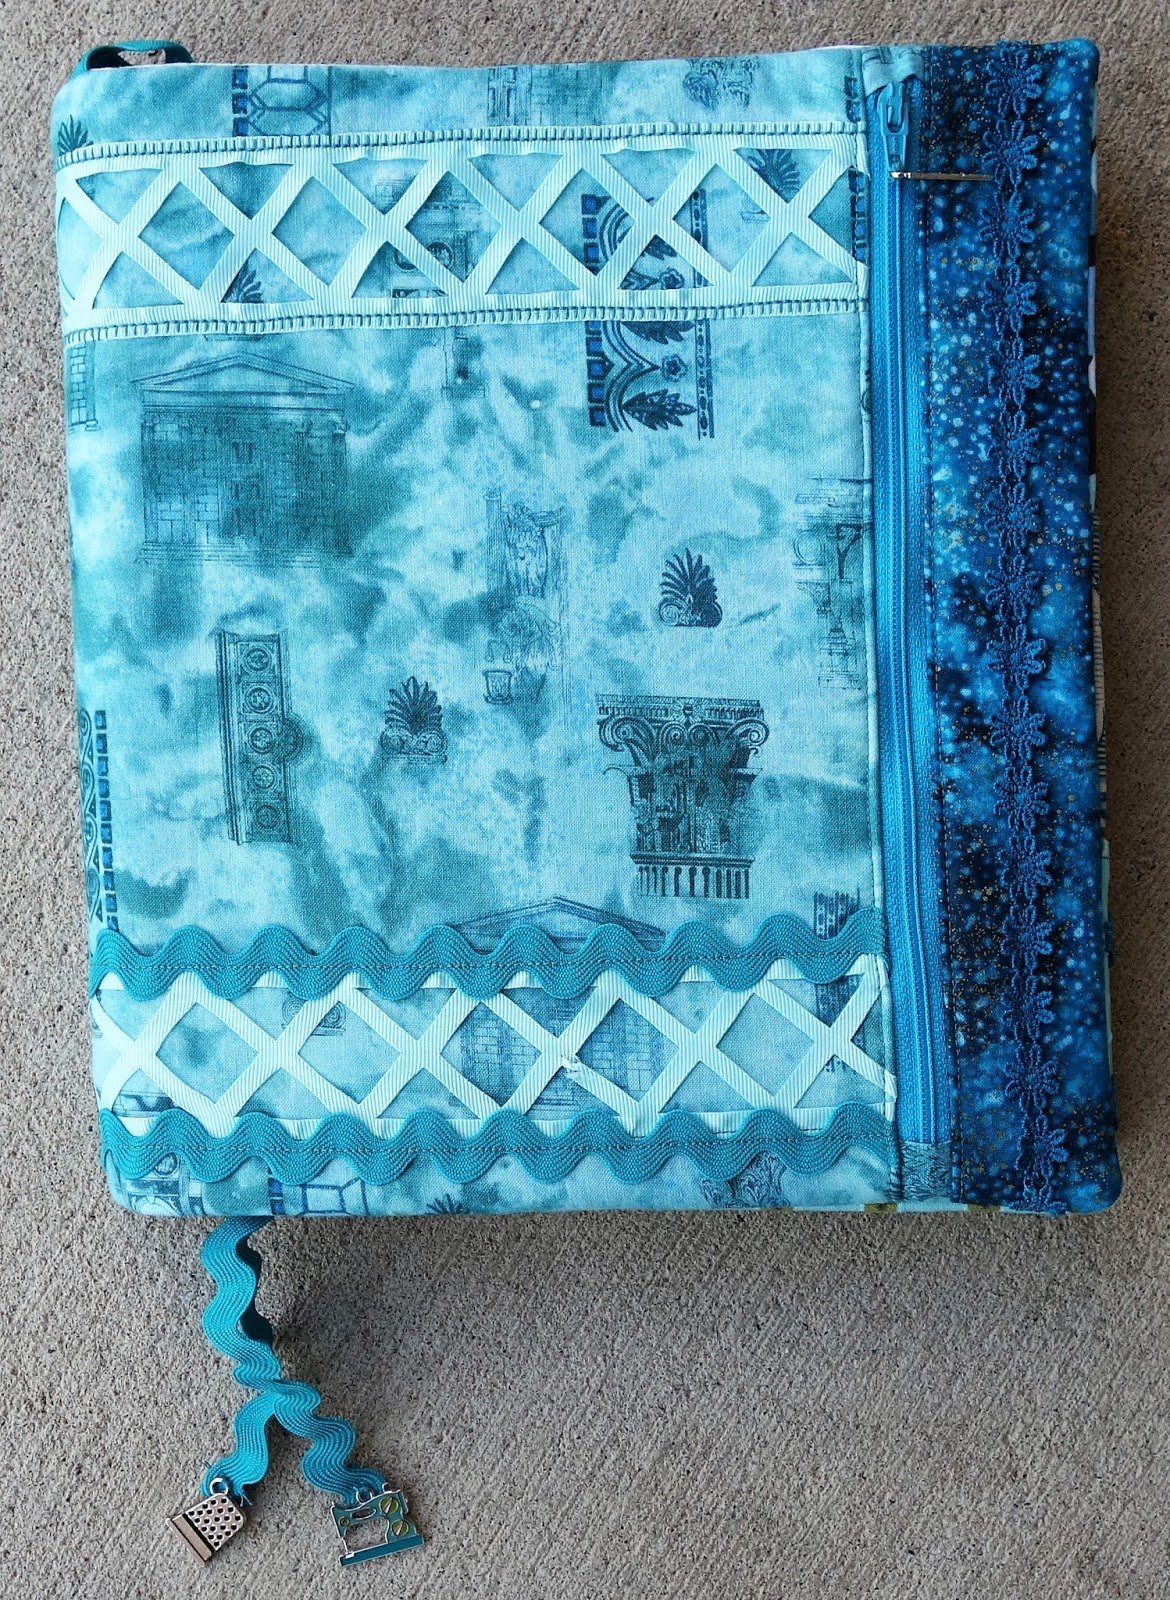
For the quilt itself I wanted it to look like the pin was pinned on a shirt. I had been saving this one because I thought I could use it to make a small clutch one day. It seemed perfect for this as I wanted the pin to be the focus and the shirt to be background.


Have a Creative Day
Janet